Setting up your Profile Assessment Center (PAC)
In this article, we'll review how to view and edit your organization account information within PAC. Talent Gear has set up your account with the information available to us. Make sure to review the information in PAC to ensure it is correct and accurate before you get started with your candidate assessments.
Step 1: Log into your PAC account.
Step 2: View/edit your organization's information
Navigate to Configure/View Business Unit.
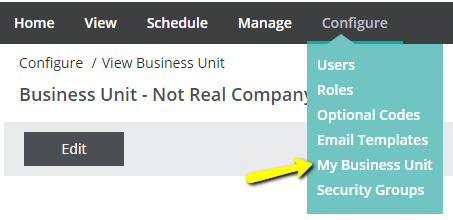
Here you can edit your contact information and add images which will appear on reports. If you want to make changes, click on the black Edit button.
The system uses your logo in the site, on printed reports, and for mobile assessments and reports. You can upload a single image and the system will resize it for you. The maximum file size is 200kb.
Step 3: Confirm/edit your settings
Include Candidate/Team Name in Report File Names
Enabling this option will include the candidate or team's name in the file name when reports are downloaded or emailed.
Show reports in popup browser window
Enabling this option will allow reports to be generated in a separate browser window.
Allow Sort on Optional Codes Supporting Multiple Values
Enabling this optional allows you to sort lists by optional code value even if the optional code allows multiple values.
If you're unsure of your options here, they can be left as-is until you're more familiar with PAC and your needs.
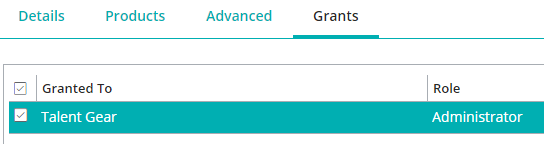
Optional: Manage Access
Click on Grants and check Talent Gear. This will allow us to help you in the future.
Final Step: Save your changes
Click Save to save all your changes, then click Edit to take you back to the Details screen.